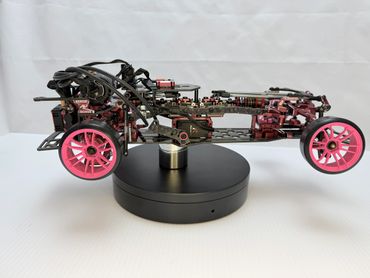
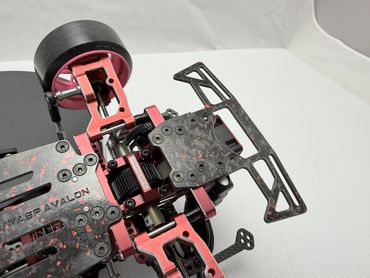
Bingo Wasp Avalon Chassis
Bingo Wasp Avalon Chassis for the Azada Avalon
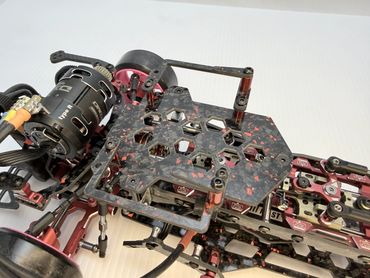
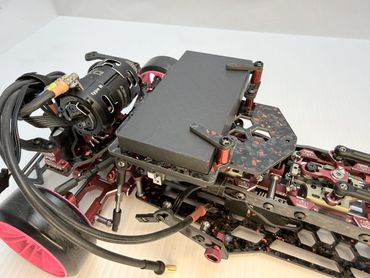
The Bingo Wasp Avalon chassis is specifically designed for the Azada Avalon drift chassis kit. It incorporates the Bingo Wasp motif into the Avalon chassis while enhancing its functionality. The extended rear gearbox plate of the Bingo Wasp Avalon allows for the installation of a Yokomo rear bumper. Additionally, the front of the chassis is designed to accommodate both the Yokomo front bumper and the stock Avalon aluminum front bumper plate. The Wasp Avalon chassis kit also includes a new upper deck, which facilitates the placement of the receiver and gyro. Alternatively, the ESC can be moved in front of the motor. However, the upper deck is not mandatory, so the stock appearance can still be maintained. Furthermore, there are mount holes provided, enabling the use of the Bingo Universal Battery holder, which allows for a high CG battery setup.
The pictures below show the optional Bingo Wasp front and rear Yokomo bumpers, as well as the optional Avalon front and rear body mount extensions. These are not included with the Bingo Wasp Avalon kit.

Bingo Wasp Avalon - Installing the optional upper deck
Rear Mounts
Standoff set screws
Standoff set screws

Install the two rear mounts as depicted. Use 4 x M3x6 flat head screws. To install the mounts, you’ll need to remove the side stays. Update one side stay at a time to keep the central suspension components securely held in place.
Standoff set screws
Standoff set screws
Standoff set screws
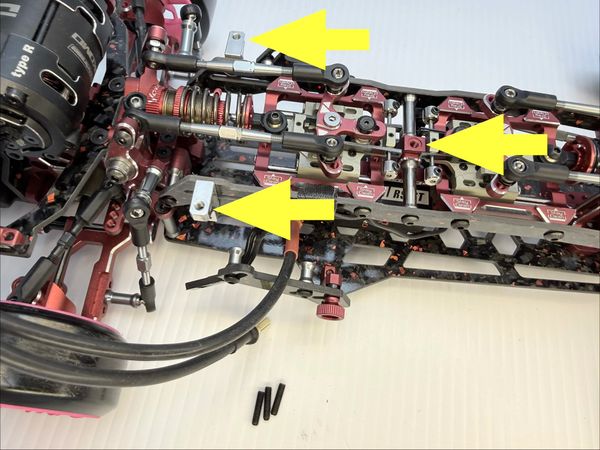
Install the 12mm set screws in the three specified locations. Ensure that the front center set screw is fully seated. Then, install the rear set screws until they start to protrude from the mount.
Standoffs
Upper Deck
Upper Deck

Install the two 15mm standoffs on the rear supports, and the one 20mm standoff on the front mount point. The front standoff can be securely screwed onto the front setscrew without any issues. For the rear standoffs, insert a 1.5mm hex tool through the standoff and into the top of the setscrew, then screw the standoff into place. Using the 1.5mm hex tool prevents the set screw from rotating while installing the standoff.
Upper Deck
Upper Deck
Upper Deck
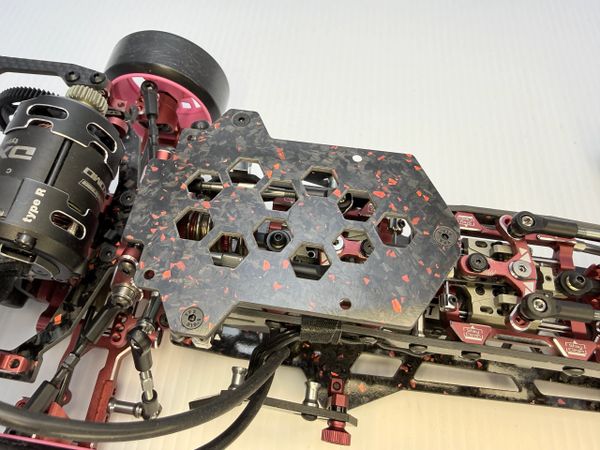
Attach the upper deck using three M3x6 flat head screws.
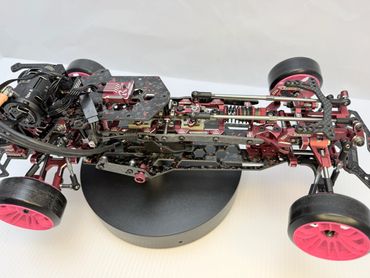
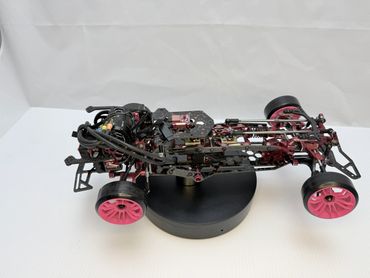
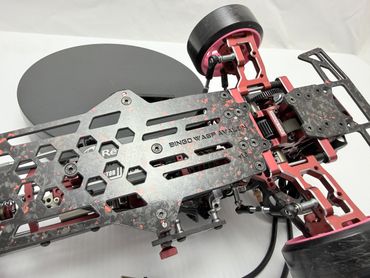
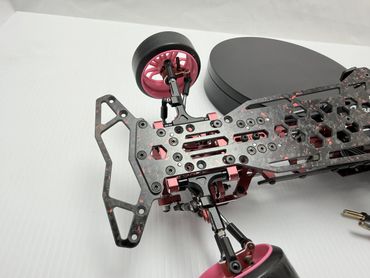
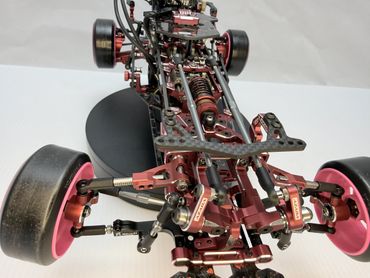
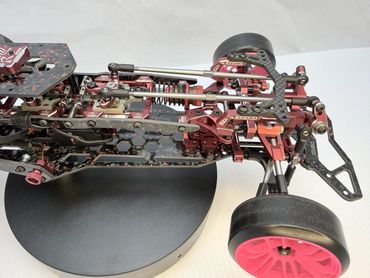
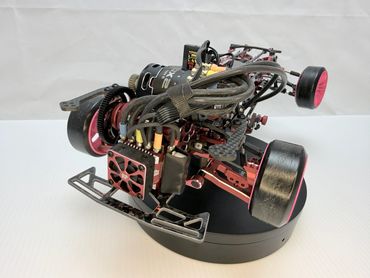
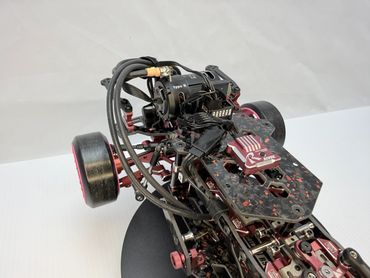
Bingo Wasp Avalon Chassis Gallery